
DIY Air Filter Replacement: Step-by-Step Guide for Edmond Residents


Why Replacing Your Air Filter Matters
As Edmond residents know, maintaining a comfortable and healthy home environment begins with clean air. One of the simplest yet most effective ways to ensure this is by regularly replacing your air filter. A clean air filter not only improves the air quality but also enhances the efficiency of your HVAC system, potentially lowering energy bills.
Dirty air filters can lead to a host of problems, including increased allergens, higher energy consumption, and even system failures. To avoid these issues, it's crucial to replace your air filter regularly. In this guide, we'll walk you through the process step-by-step.

Gathering Your Tools and Materials
Before you start, gather the necessary tools and materials. The good news is that replacing an air filter is a straightforward task requiring minimal equipment. Here's what you'll need:
- A new air filter (make sure it matches the size and type of your old one)
- Screwdriver (if your system requires one for access)
- Cleaning cloth or vacuum (optional for cleaning around the filter area)
Once you have everything ready, find your HVAC unit. This is typically located in a utility room, basement, or attic.
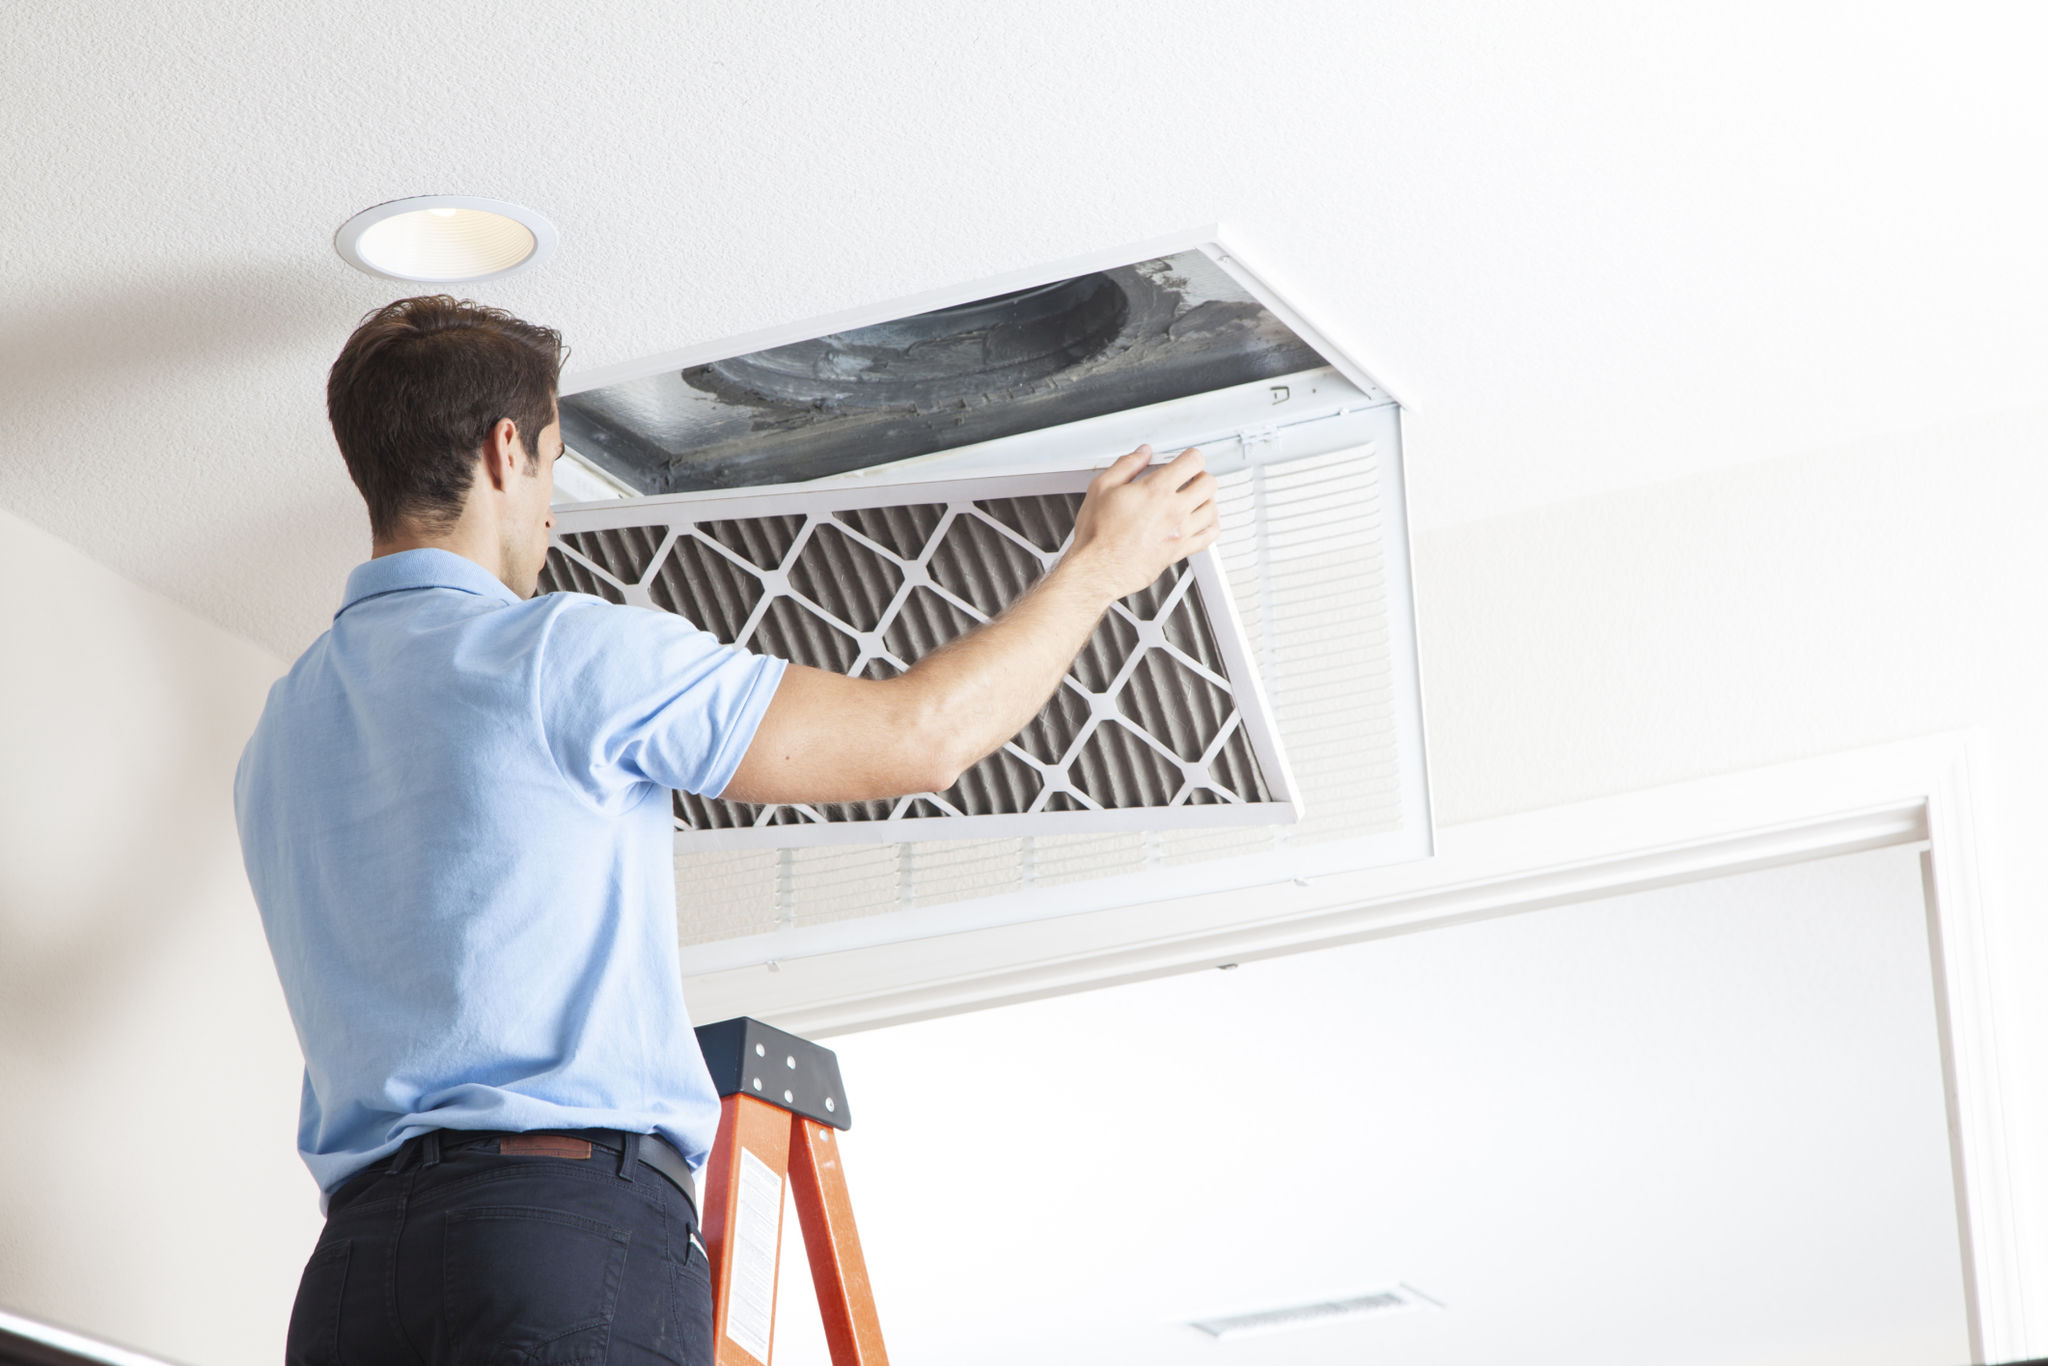
Removing the Old Air Filter
With your tools in hand, you can now proceed to remove the old air filter. Follow these steps:
- Turn off your HVAC system to ensure safety while working.
- Locate the filter compartment. This is usually marked and can often be found near the return air duct.
- If necessary, use a screwdriver to open the compartment.
- Carefully slide out the existing filter, noting the direction of the airflow arrows on its frame.
Cleaning the Area
Before inserting a new filter, it's a good idea to clean the surrounding area. Dust and debris can accumulate in this space, potentially affecting performance. Use a vacuum or a damp cloth to remove any visible dirt.
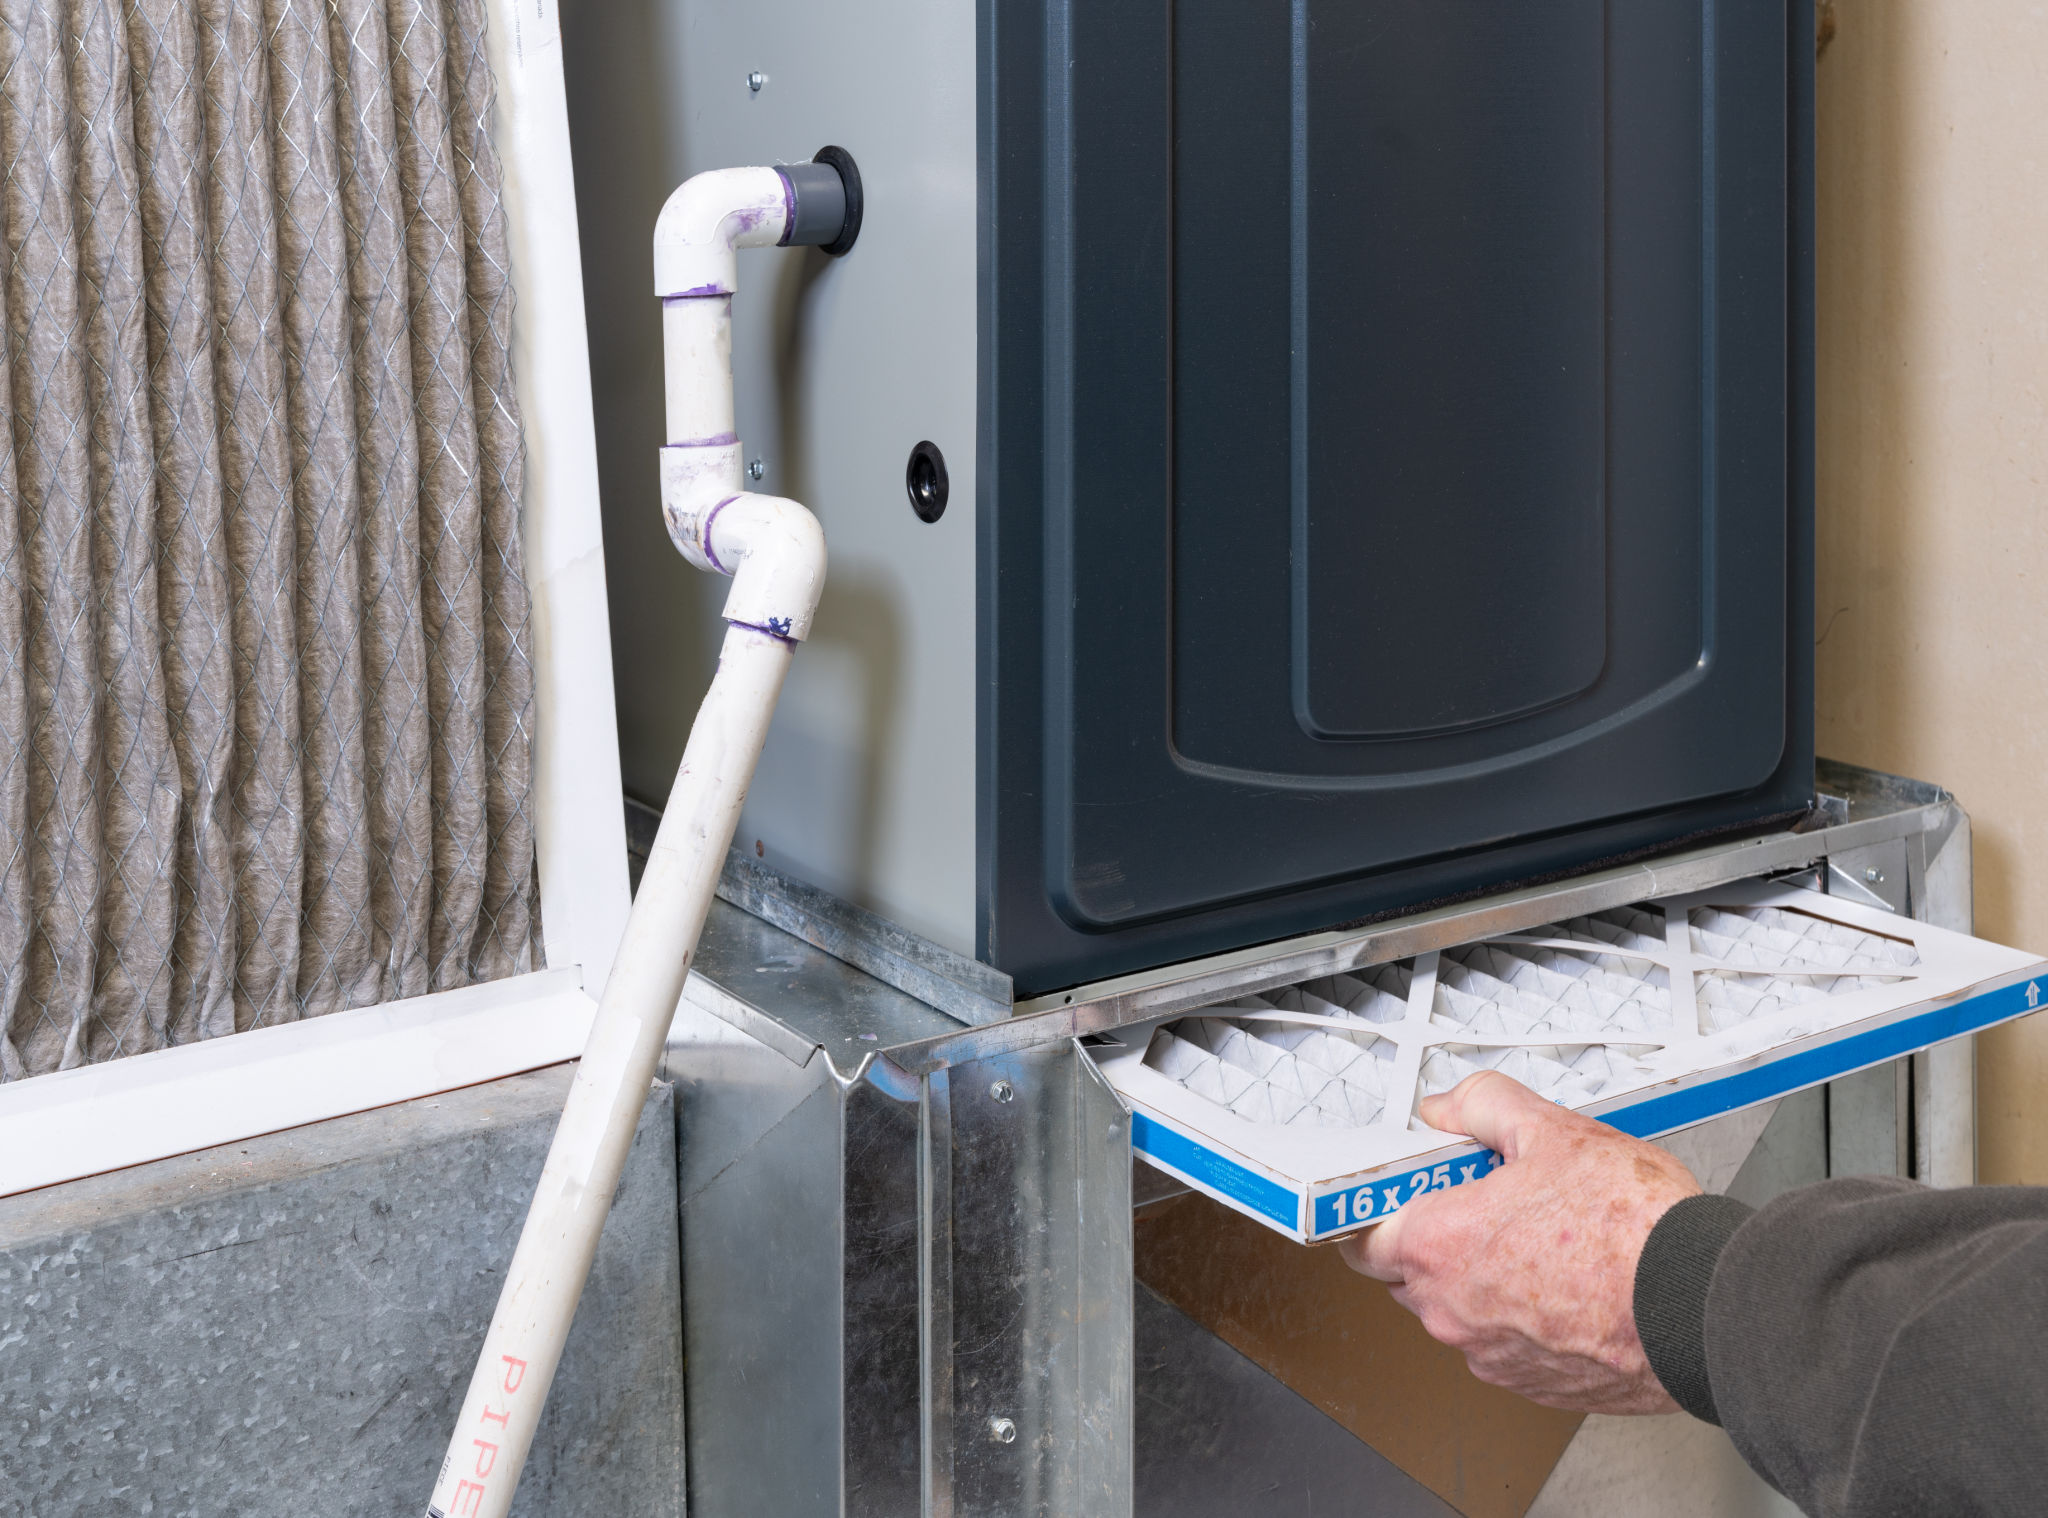
Installing the New Air Filter
Now that the area is clean, it's time to install your new air filter:
- Check the airflow direction arrows on the new filter.
- Insert the filter into the compartment, ensuring it follows the correct airflow direction.
- If applicable, secure the compartment with screws.
Testing Your HVAC System
Once you've installed the new filter, turn your HVAC system back on. Listen for any unusual noises and check that air is flowing smoothly through the vents. If everything seems normal, you've successfully replaced your air filter!
Maintaining Your Air Filters
To keep your system running efficiently, plan to check your filters every month. Depending on factors such as pet presence or allergies, you may need to replace them every 1-3 months. Regular maintenance will help prolong the lifespan of your HVAC system and ensure you enjoy clean, fresh air in your Edmond home year-round.
By following these simple steps, you can take charge of your home's air quality and contribute to a healthier living environment. Happy DIYing!